# Tag manager
The Tag Manager is your tool for effectively saving time and nerves. Use it to automatically assign tags based on conditions you define.
## Adding Tag Manager
Create a new Tag Manager by clicking on the appropriate button.
All tags configured by the Tag Manager are set exclusively where the defined conditions are met. If the conditions change, previously set global tags that no longer apply are automatically removed.
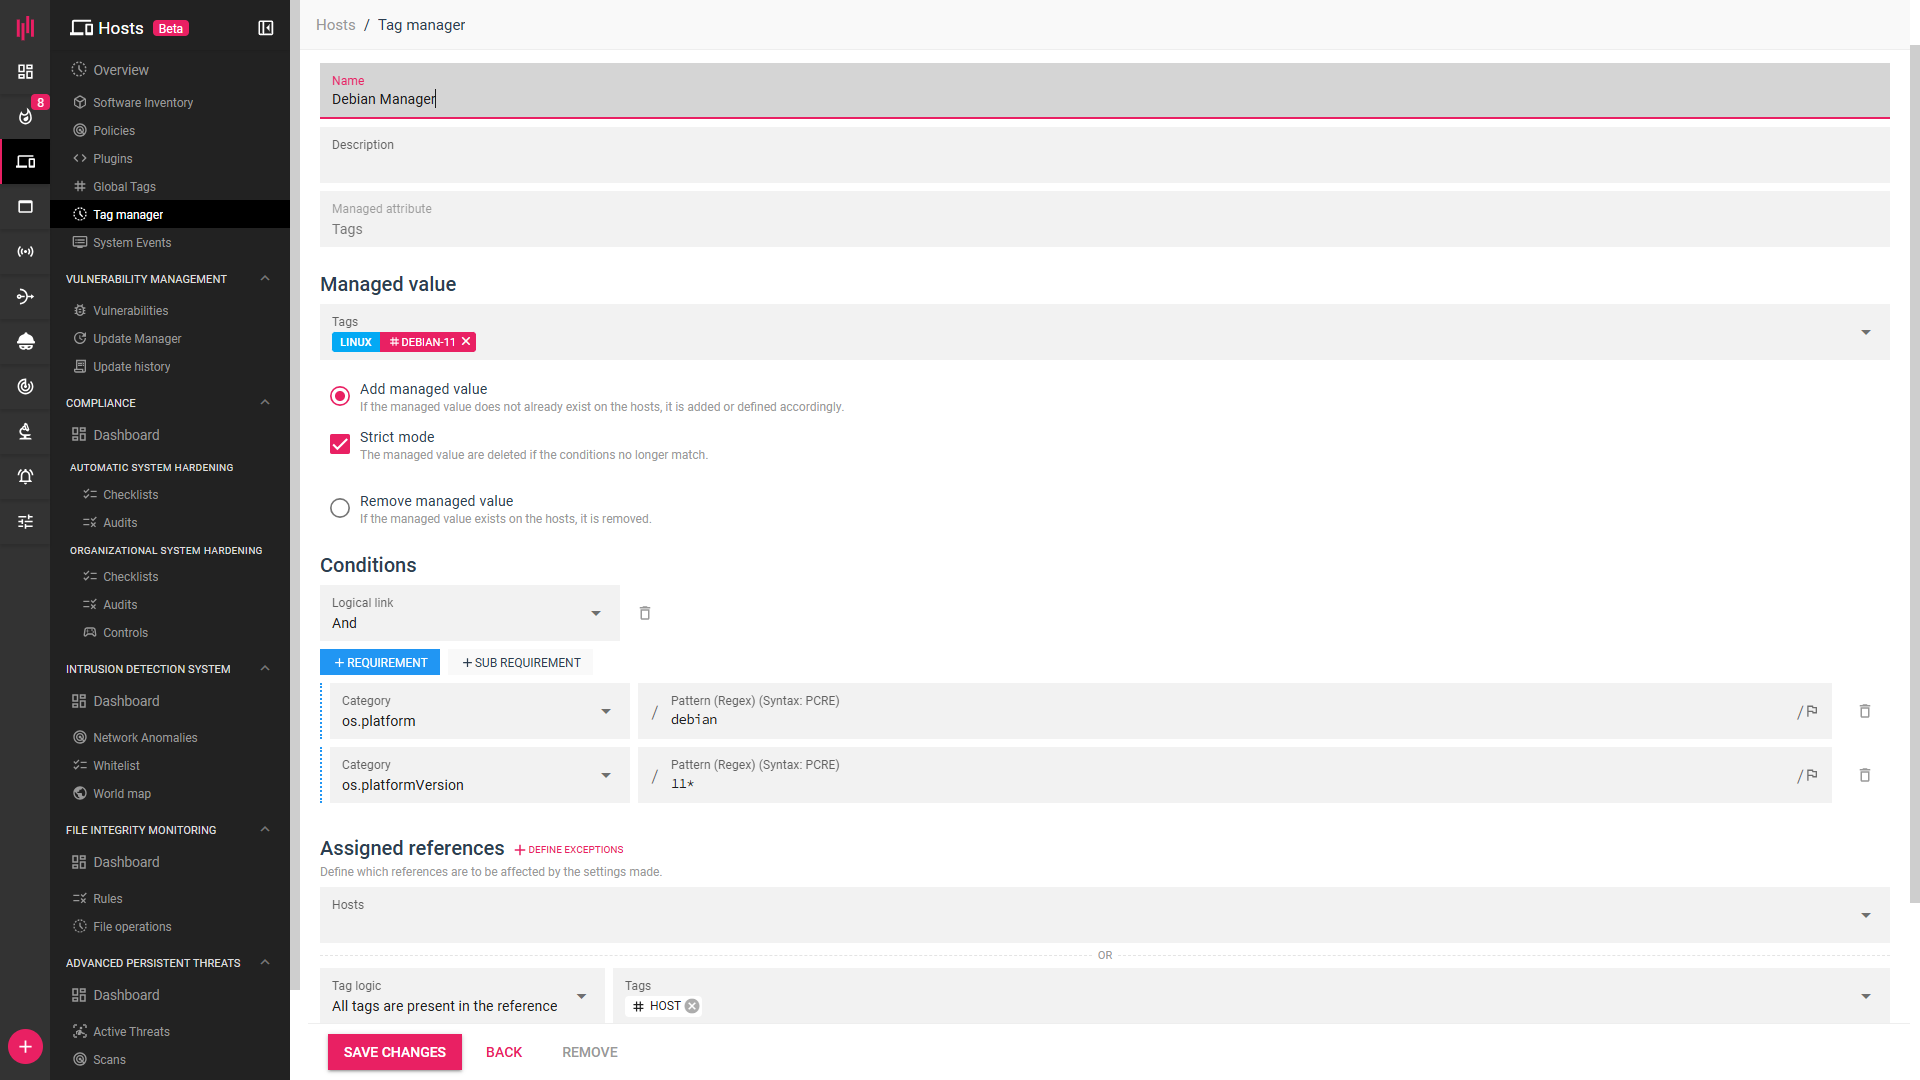
1. Then assign a **name** and a brief **description**.
2. Select from the dropdown all **managed values** by this Tag Manager that you want to consider or enter them manually into the field. Please note that you must have previously created a global tag!
3. If needed, select the relevant options from the ones listed below. Your options include:
1. Add managed value
2. Strict mode
3. Remove managed value
4. Then select the **condition** for which the Tag Manager should apply.
5. Add additional **conditions** or **sub Requirements** as needed.
6. Specify **assigned references** in the final step.
7. Finally, add your created Tag Manager.
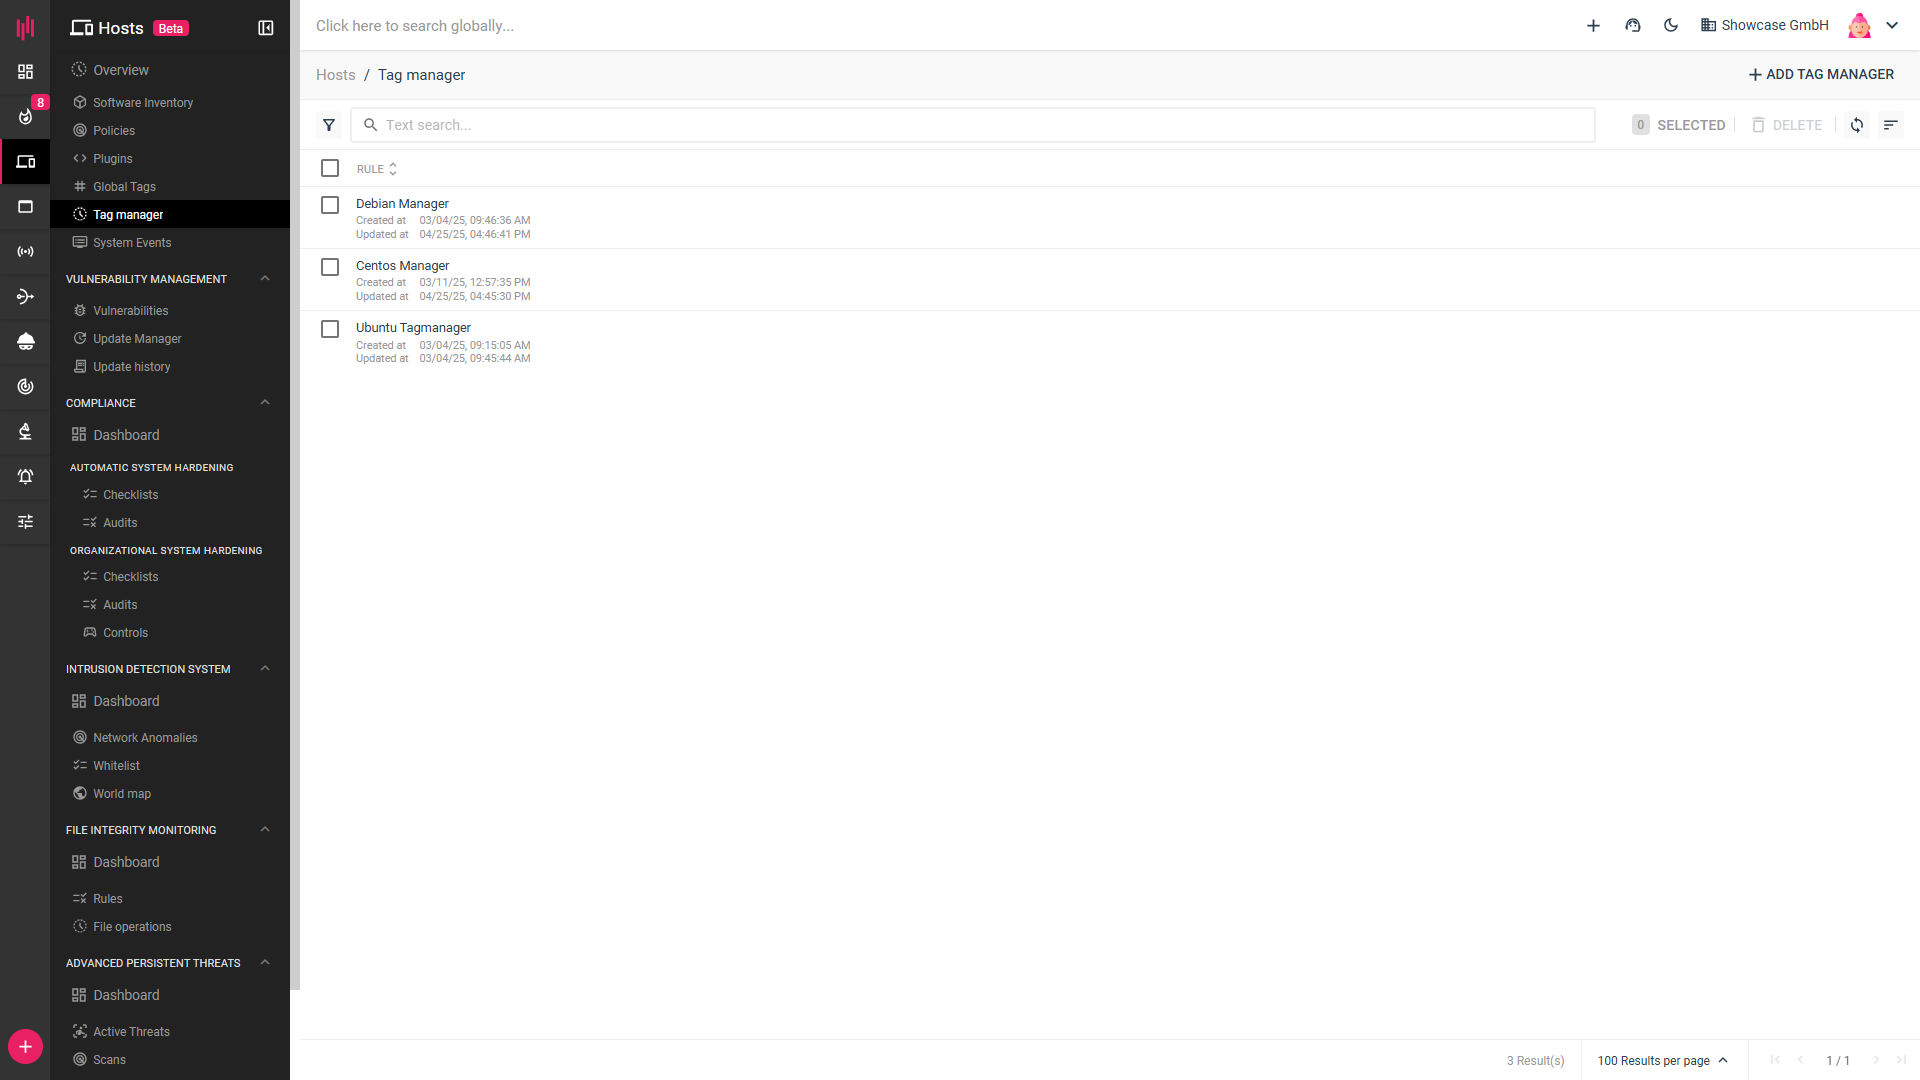
It will then appear in the overview and can be deleted or edited from there.
---
# Agent Instructions: Querying This Documentation
If you need additional information that is not directly available in this page, you can query the documentation dynamically by asking a question.
Perform an HTTP GET request on the current page URL with the `ask` query parameter:
```
GET https://docs.enginsight.com/docs/master/operation/platform/host-pulsar-agent/tag-manager.md?ask=
```
The question should be specific, self-contained, and written in natural language.
The response will contain a direct answer to the question and relevant excerpts and sources from the documentation.
Use this mechanism when the answer is not explicitly present in the current page, you need clarification or additional context, or you want to retrieve related documentation sections.